Guides / Hardware & Wiring Requirements
Decommissioning CHIME Room Tablets
Moving things around or repurposing a room? No problem. When you need to take down a wall-mounted tablet, follow these quick steps to safely remove the hardware, power it down, and store it properly so it's ready to use again later.
Removing the Tablets from the wall
Please note that depending on when your clinic was initially set up, your rooms may use one of a few different mounting setups. Take a quick look at your wall hardware and follow the specific set of instructions below that matches the enclosure style installed at your location.
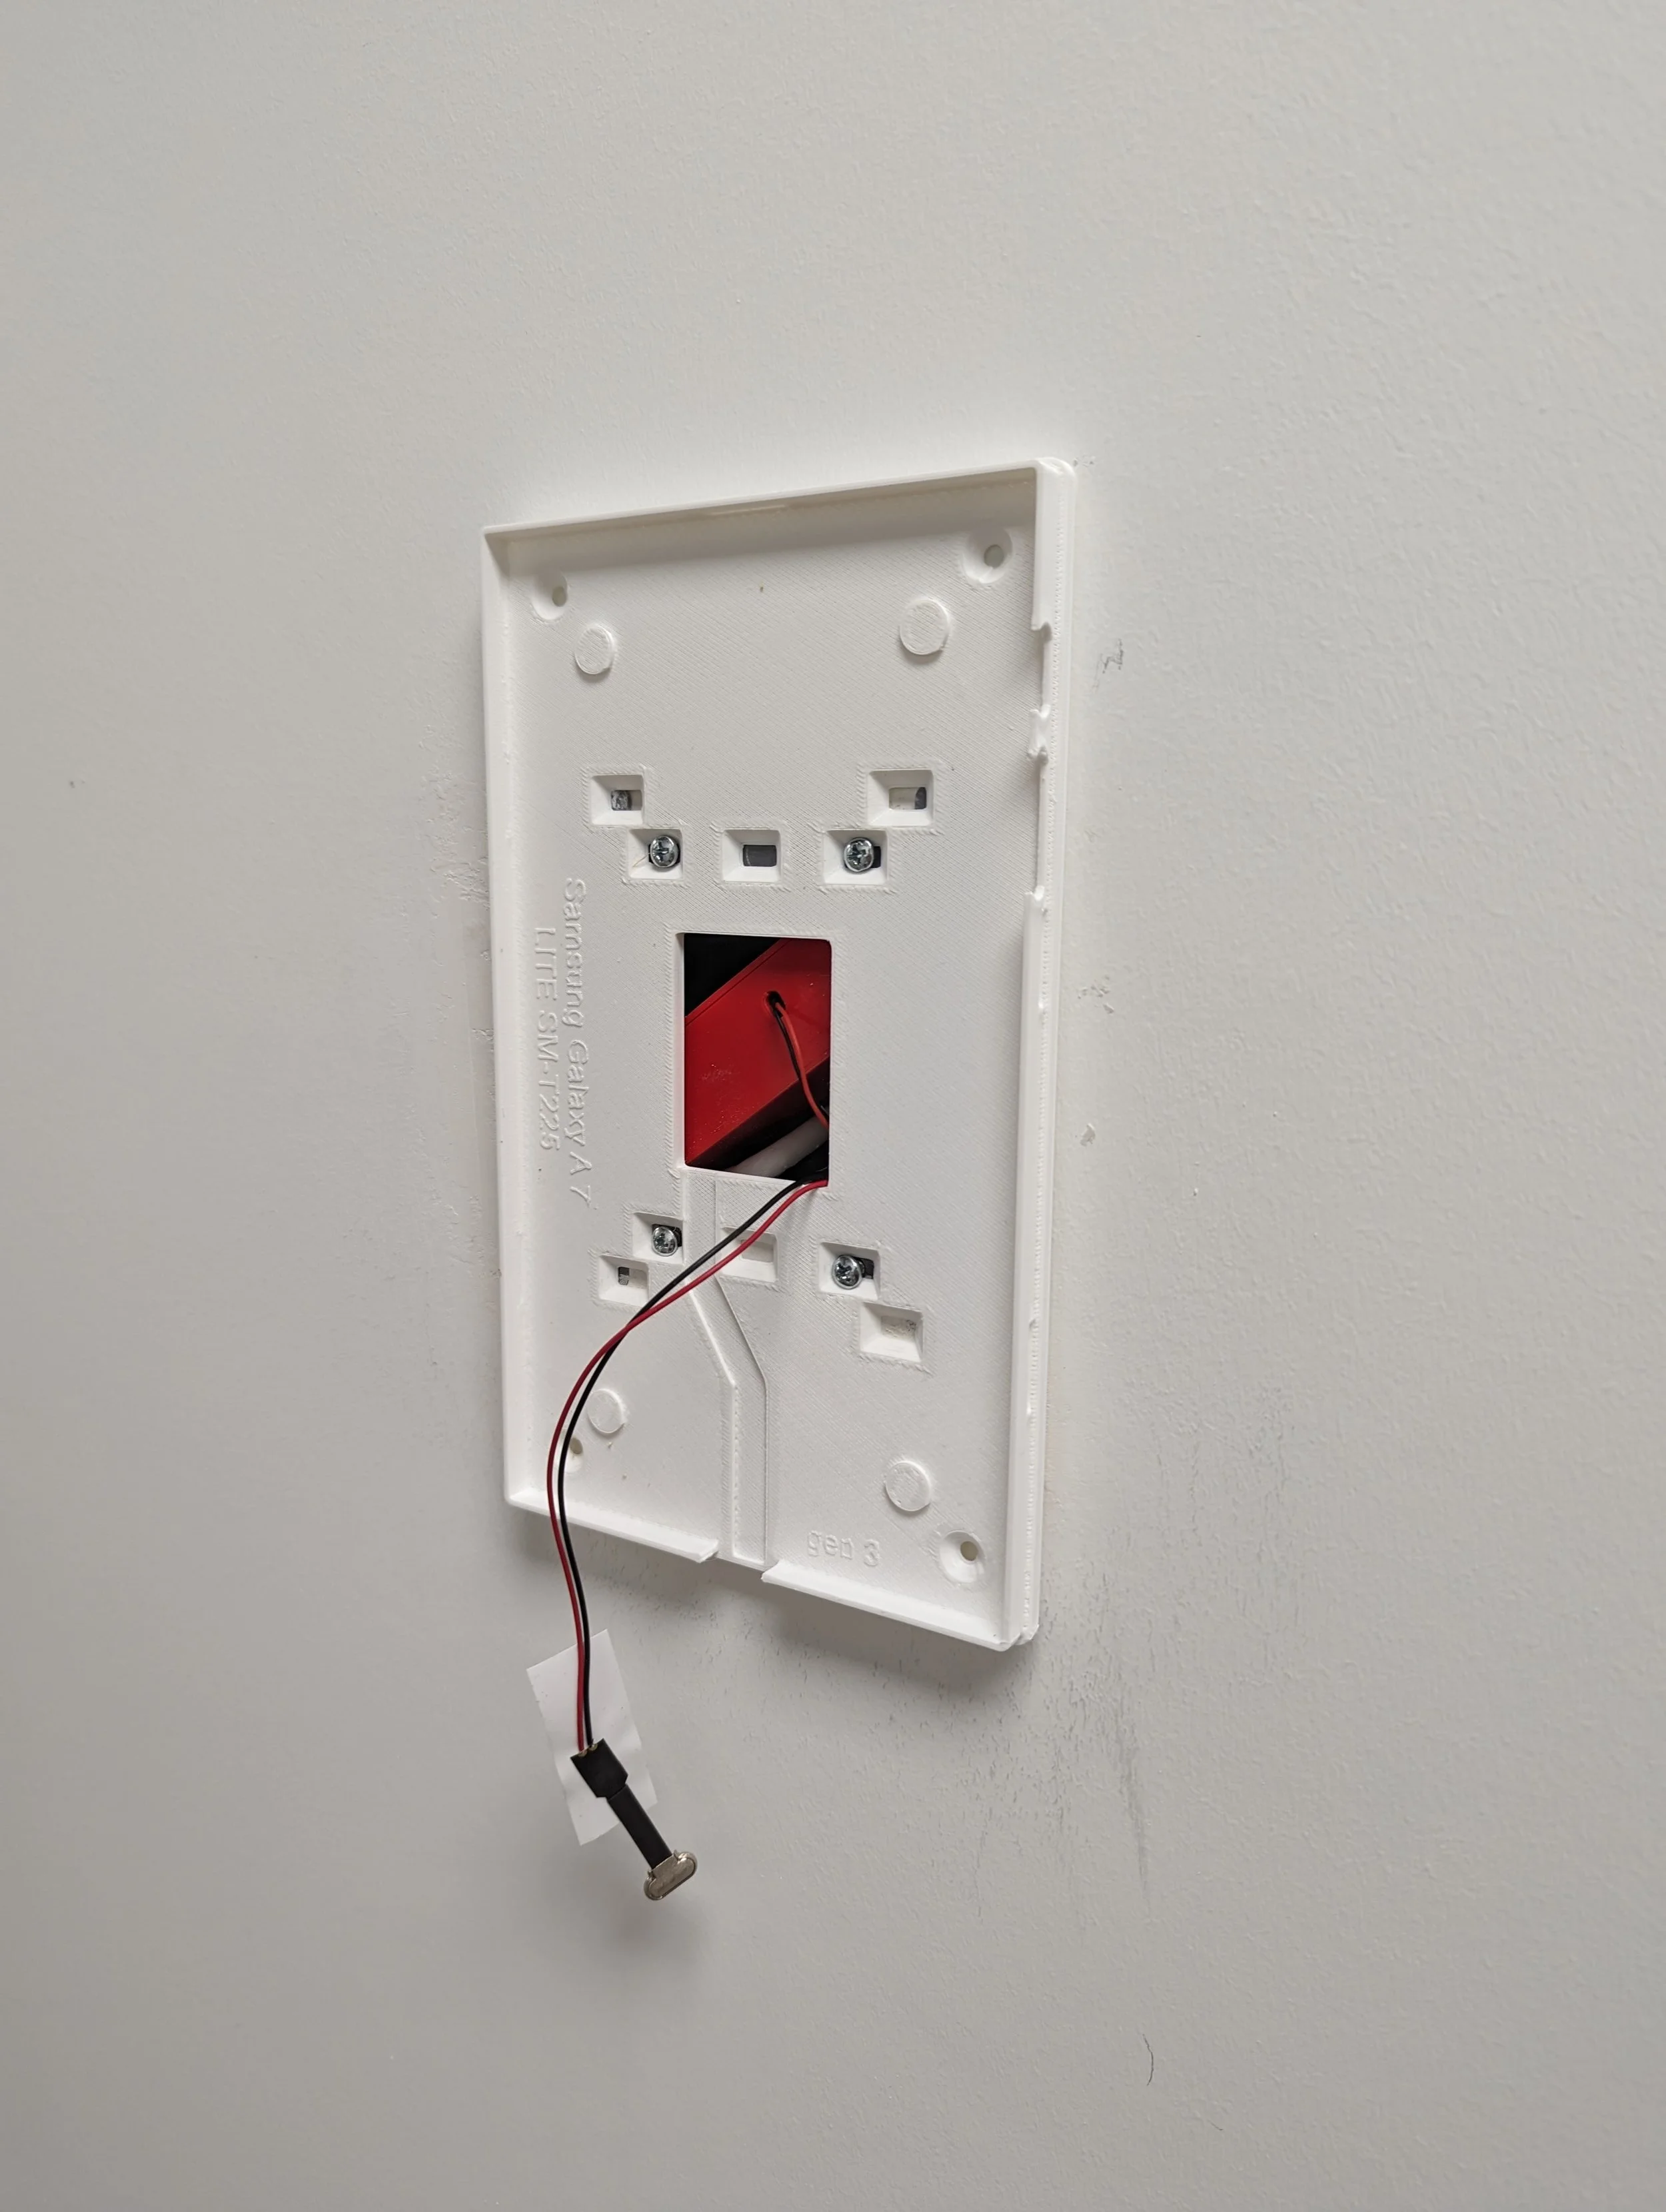
Option A: Custom 3D-Printed Enclosure
To begin the physical unmounting, carefully unclip or unfasten the front faceplate of the custom 3D-printed portrait enclosure to expose the tablet housed inside. Once open, gently pull the tablet forward enough to access the back port and carefully unplug the short USB power cable coming from the specialized PoE-to-USB power adapter. Be sure not to pull roughly on the cable to prevent stress on the internal wiring.
With the cable disconnected, safely set the tablet aside on a flat surface while you finish removing the rest of the mount housing.
Locate the mounting screws securing the back half of the 3D-printed enclosure to the 2-gang wall box and unscrew them to release the baseplate from the wall.
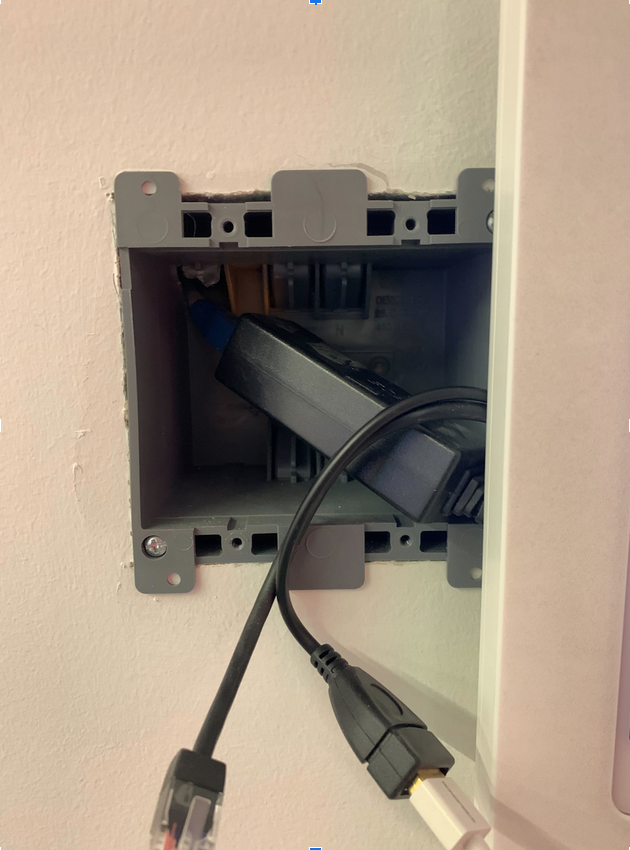
Once the backplate is unscrewed and removed, you will have clear access to the wall box to gently disconnect the PoE-to-USB power adapter from the incoming network line. Remove the power adapter to store it with the tablet, but leave ethernet cable safely tucked inside the 2-gang wall box, as the cabling itself does not need to be removed.
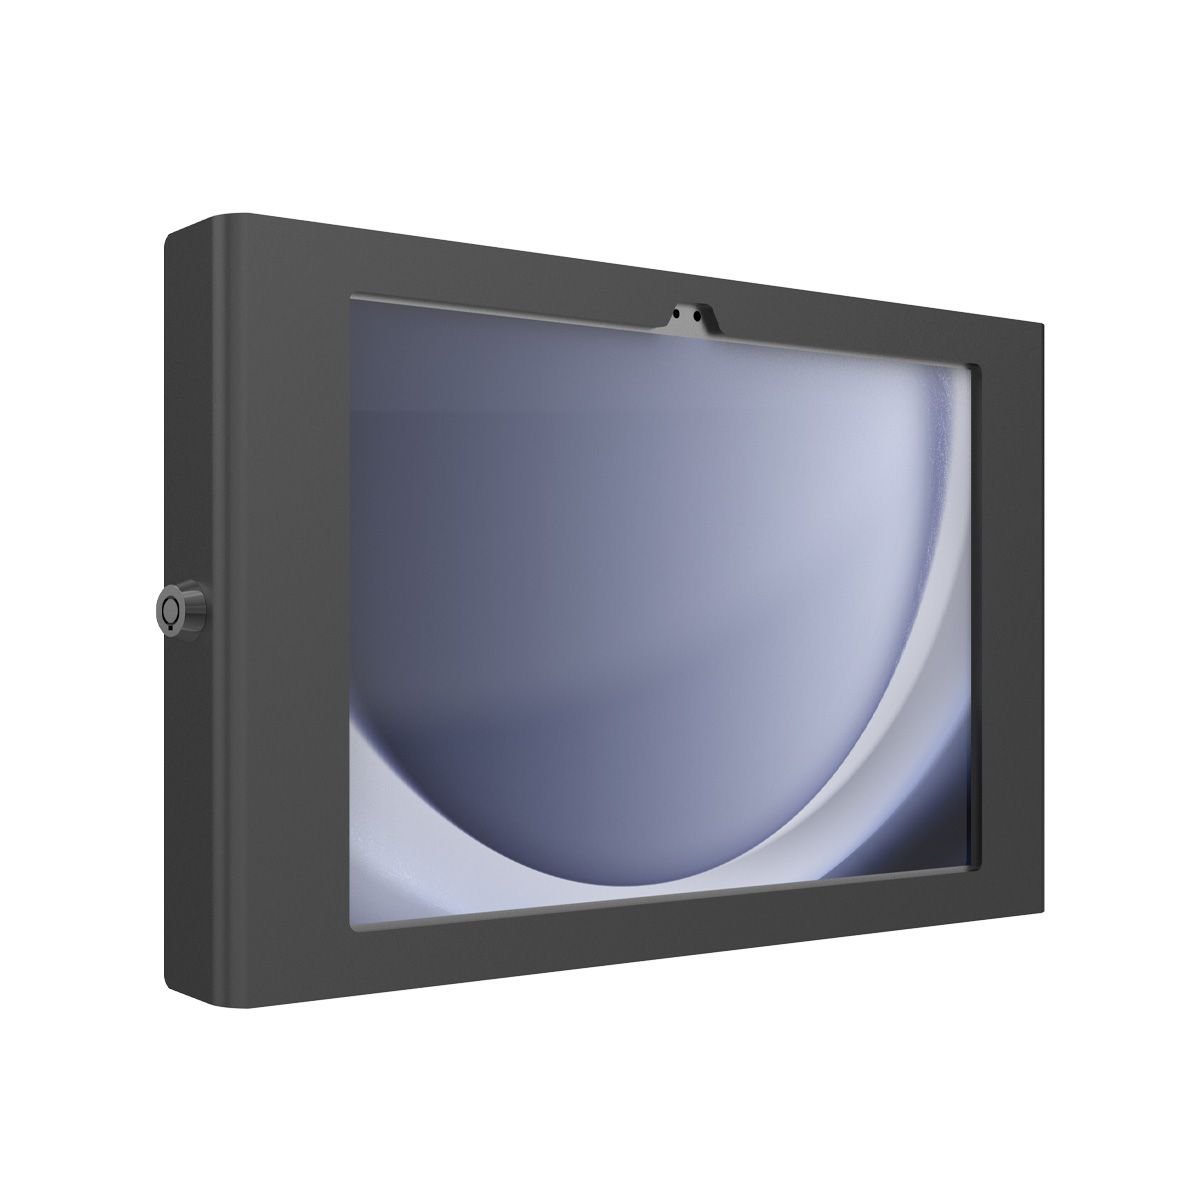
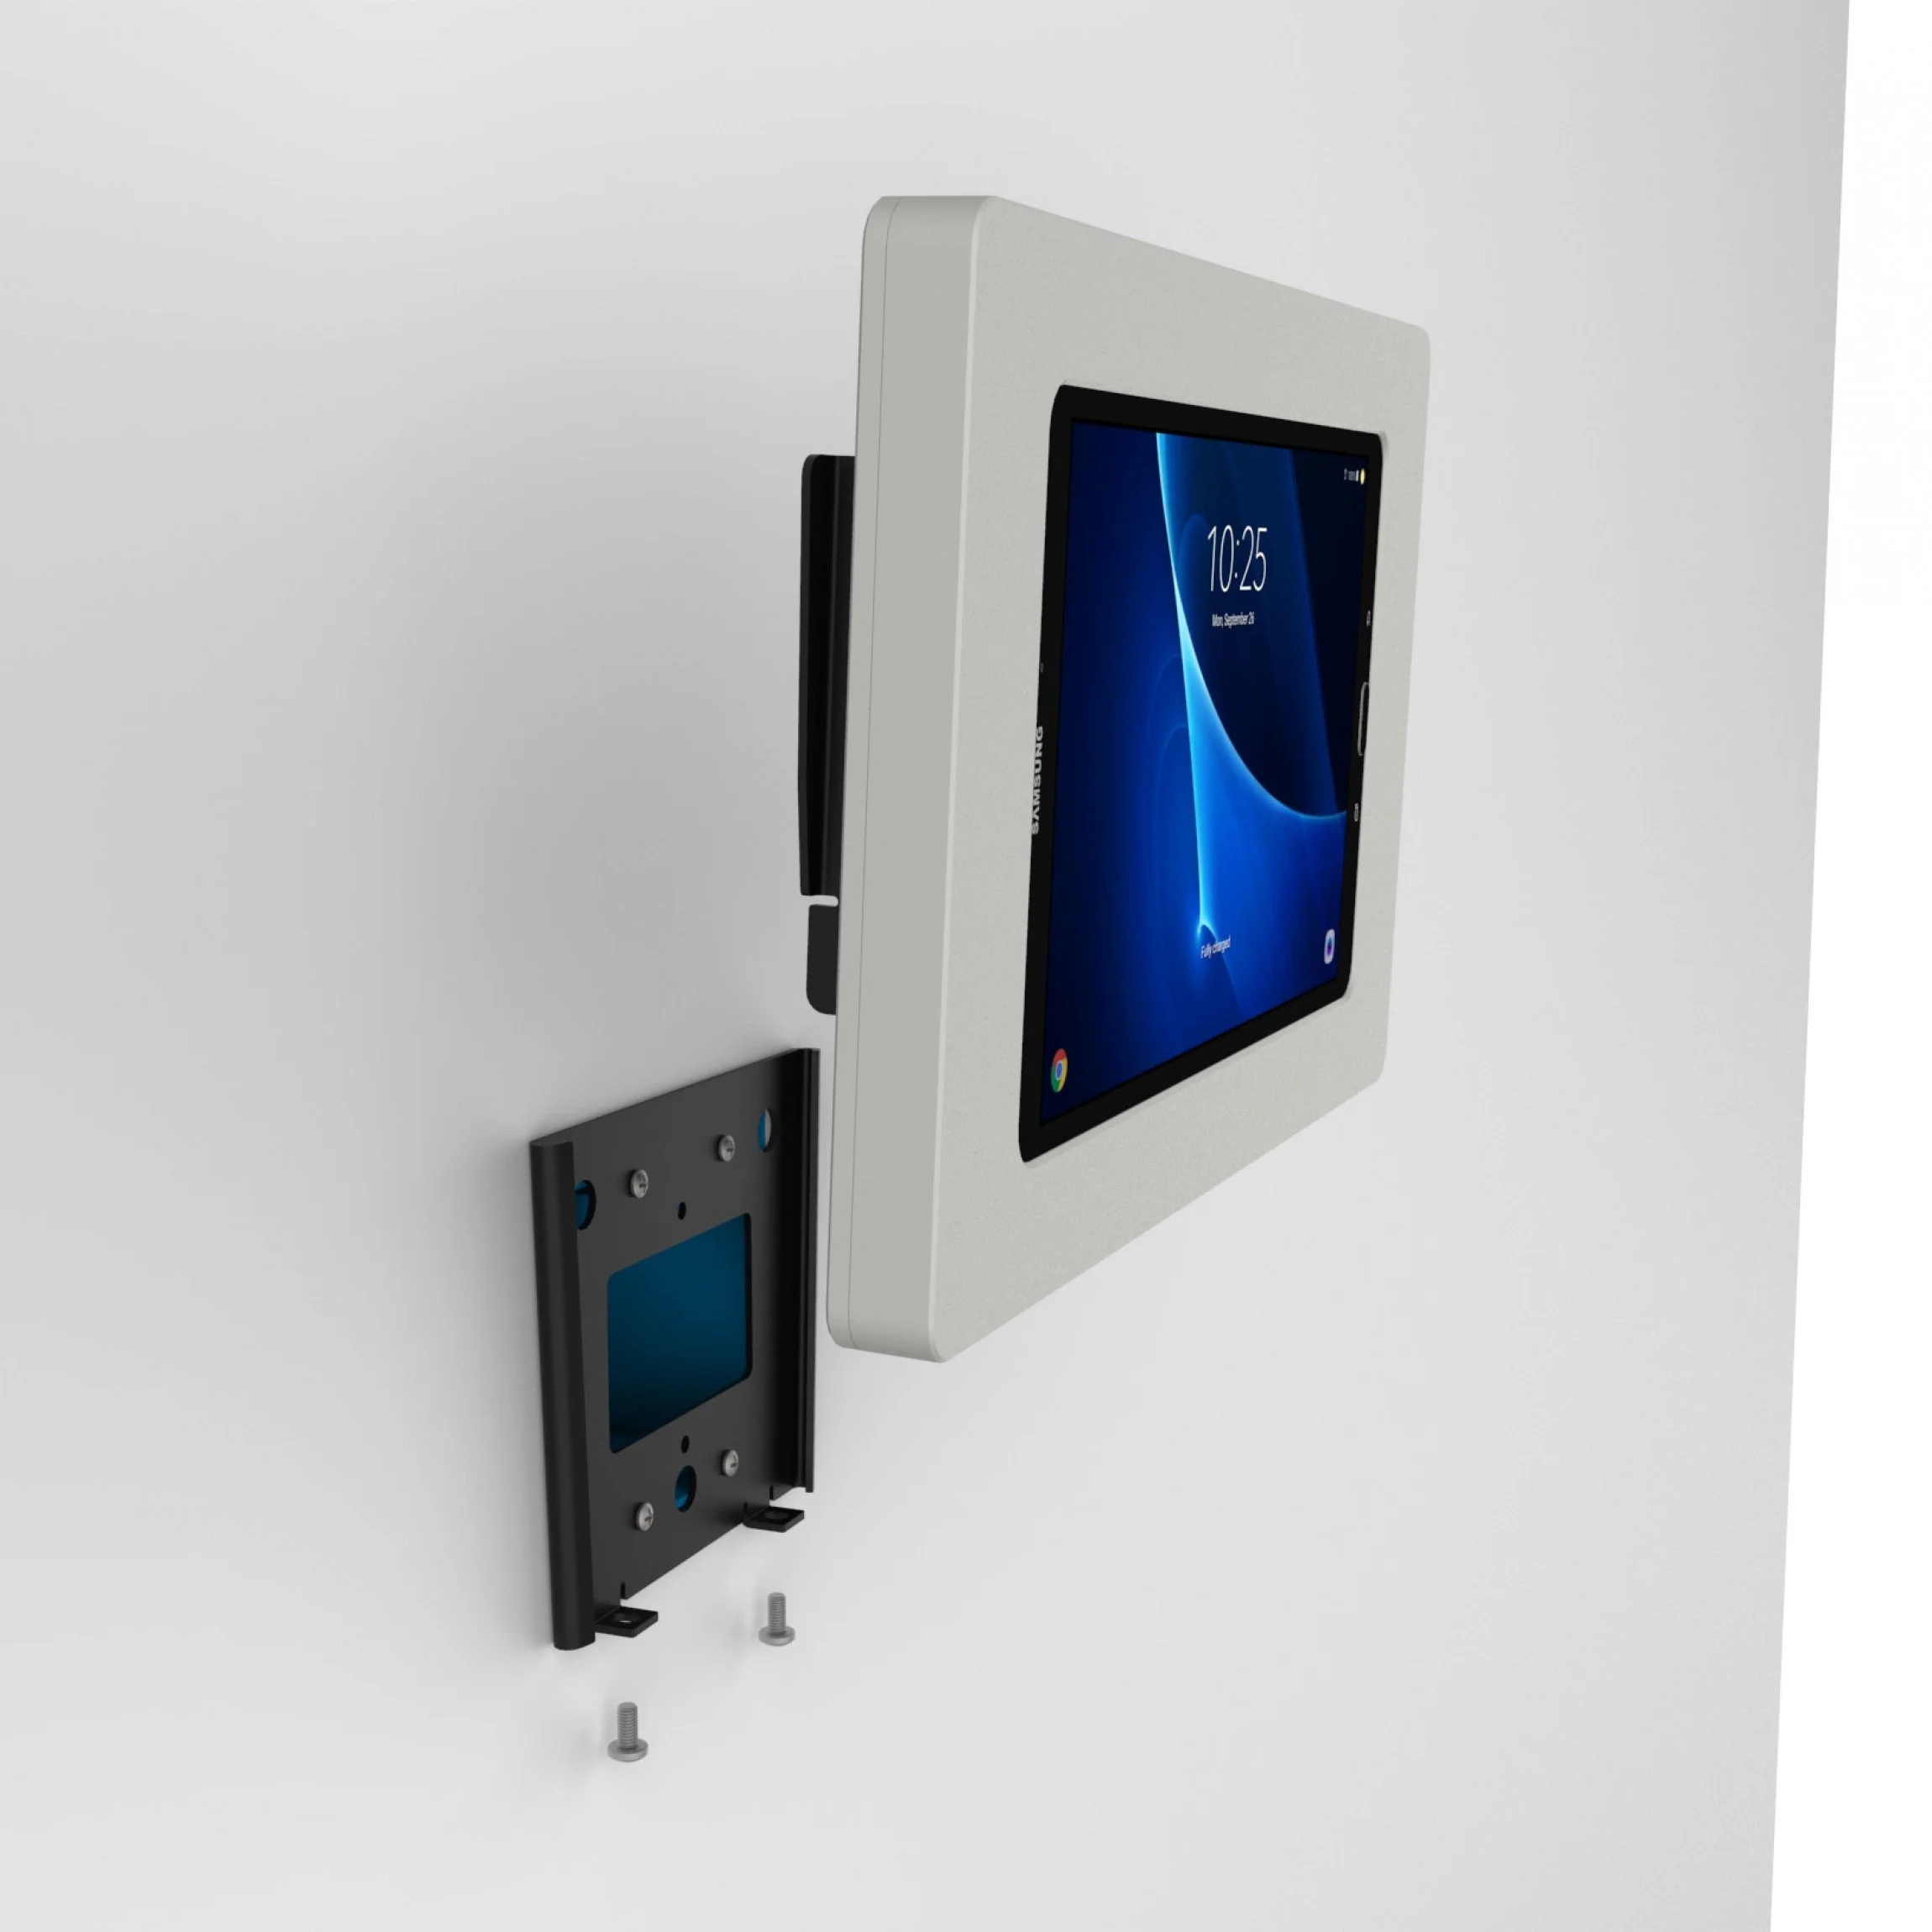
Option B: Metal Keyed Enclosure
For rooms equipped with a keyed mount, insert the designated security key into the lock mechanism to unlatch the faceplate and open the enclosure framework. This key should have been handed off to your facility manager or IT team during the initial hardware installation. Once the frame is unlatched, carefully disconnect the attached USB power connector from the tablet's charging port and safely set the tablet aside.
Next, unscrew the back housing frame completely from the wall or mounting brackets to remove the remaining enclosure assembly from the room. Once the housing is off, unplug and remove the inline PoE power adapter located directly behind it so it can be kept alongside the tablet, leaving only the exposed ethernet cable safely tucked behind.
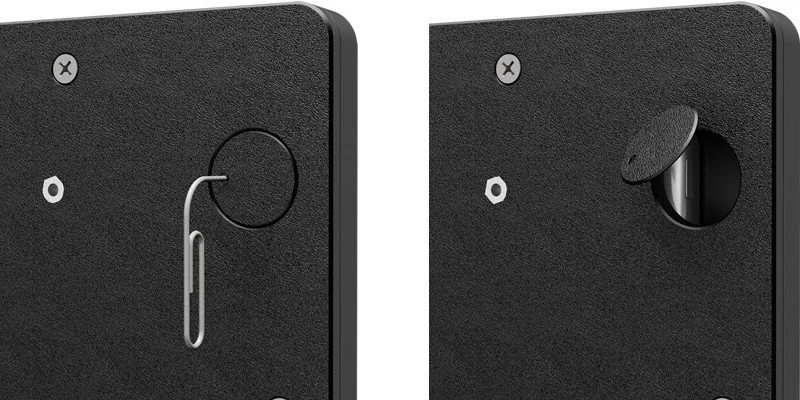
Option C: Rail-Mounted Enclosures
To disassemble this variant, locate the connection point at the bottom of the mount and unscrew the lower retaining fastener. Once it is released, carefully slide the tablet enclosure upward and out of the wall-mounted section of the rail and put it aside. To complete the removal, unscrew the remaining half of the rail mount from the wall gangbox to access the PoE injector. Unplug the injector so it can be stored as part of the tablet kit, leaving the ethernet cable tucked safely inside the wall box.
Powering Off and Storage
With the entire enclosure and PoE power adapter completely free from the wall, pick up the tablet, hold down its physical power button on the outer edge, and select "Power Off" from the onscreen interface. For the rail-mounted setups, you may use a paperclip to access the power button via the frame's access hole to trigger the power off sequence. Verify that the display goes entirely blank so it does not drain the battery or stay active in standby while stored.
Place the tablet, the PoE-to-USB power adapter, the enclosure, and any mounting screws together in a secure location. Keeping them together as a single matched kit ensures everything stays grouped for a seamless reinstall at another room. When you are ready to reuse the tablet, please contact support at support@chimeclinic.com so that we can update the device's room assignment on the backend.
Please note that removing the physical device does not automatically delete it from your dashboard. Ensure you notify support at support@chimeclinic.com or your account manager to formally remove these specific room assignments from your active CHIME dashboard database so it stops triggering offline alerts.
If you run into any issues during the physical removal process or need confirmation that the rooms have been wiped from your dashboard, please submit a ticket to our support inbox at support@chimeclinic.com.