Tutorials / Troubleshooting / CHIME Server Maintenance
CHIME Server Maintenance
Occasionally a server will need to be manually inspected and repaired. Here are the steps…
You’ll be sent an email from your CHIME account manager asking you to send in your onsite CHIME server for maintenance. By the time this has happened, you will already be running on an offsite backup CHIME server.
Your onsite CHIME Server will most likely be located in a “server” or “technical” room and will usually be labeled as “CHIME” or “CHIME Server”.
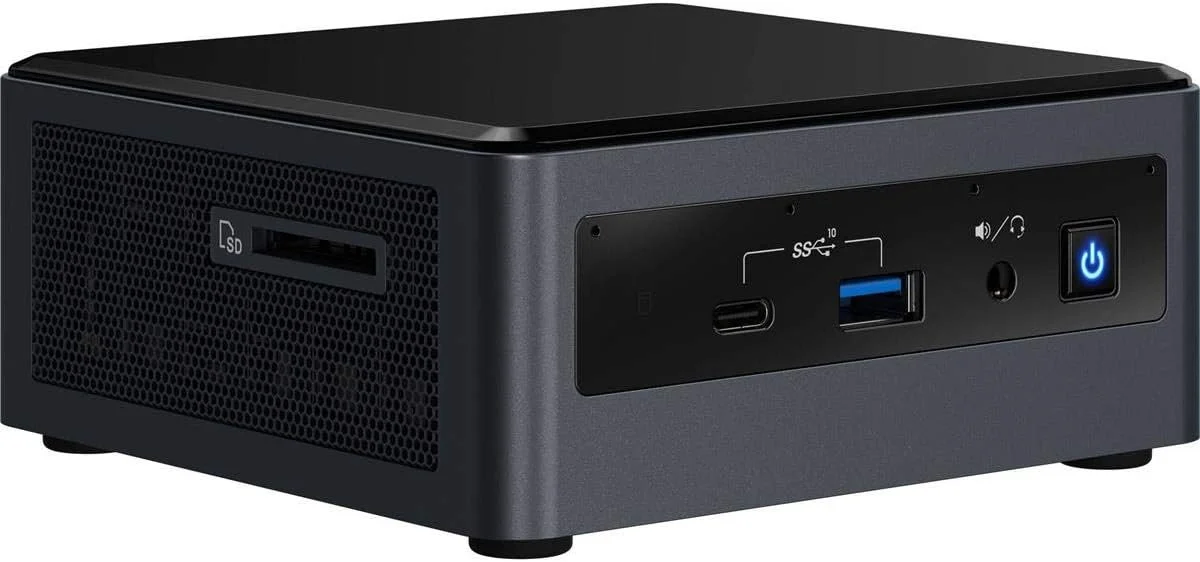
On the CHIME Server, if it still appears on, PRESS AND HOLD the blue power button—for around 5 seconds—until the server shuts down. If it doesn’t shut down, just shut it down manually unplugging the power cable from the server.
Unplug the power adapter from the source if its power. Usually it will be a CHIME “Reboot Device”. Leave the CHIME “Reboot Device” as is. You do NOT need to send it back.
Unplug the ethernet cable from the CHIME server as well. We highly recommend making the cable with a sticker so that you know which cable to plug back in when you receive the repaired server.
Take a photo of the photo and its power adapter and send it to your CHIME account manager so that they can confirm it’s the right device that you’ve unplugged.
Once you have confirmation, pack the server and its power adapter in a box so that it doesn’t rattle around (just use some blue pads if you don’t have any shipping material handy.
Use the link that your CHIME account manager sends you to obtain a postage paid return label for the box.
We’ll receive the server, fix it, and return it to you for you to reinstall. We’ll only charge you for any replacement hardware that’s needed:
replacement CMOS batteries (free!)
replacement hard drive (~$100)
replacement server (very rare, and we’ll ask for permission before proceeding - $1000)
labour, shipping, handling (free!)