Guides / Hardware & Wiring Requirements
Preparing a Clinic for CHIME: A Guide to Network Drops and Electrical Outlets
Preparing a clinic for CHIME is very straightforward and primarily involves ensuring appropriate network drops and power outlets are available in very specific spots. The single most expensive mistake we see is gang boxes installed in the wrong place, or low-voltage cable runs skipped entirely. A 15-minute call with us and your contractor early in the project usually eliminates the bulk of avoidable rework.
High Level Steps
1) Design
Identify which rooms will have a CHIME Room Tablet mounted outside the door.
Identify where the TV(s) will go in the waiting room.
Identify where the CHIME Check-in Kiosk(s) will go in the waiting room.
2) Construction
Supply and install a 2-gang outlet box that has a labelled and tested network drop with a RJ45 termination at all of the locations that will have a CHIME Room Tablet (see details below). As is typical, one or more patch panels should be in the IT room corresponding to each such network drop.
Supply and install a power outlet and network drop at all of the locations that will have a TV powered by CHIME (see details below).
Supply and install a power outlet near where the CHIME Check-in Kiosk(s) will go in the waiting room.
3) Installation
All of the actual equipment supplied by CHIME will get installed very close to when the clinic is ready to open. This is usually AFTER:
everything has been painted
internet is up and running
the clinic’s wifi is up and running
TVs have been mounted
all network drops have been terminated, tested, and labelled
Who exactly will do this install is decided between the clinic and CHIME. Sometimes it’s the clinic’s IT contractor. Sometimes it’s CHIME. It depends.
What Exactly is the Clinic Responsible for Doing
Outside Exam Rooms
Outside each room that gets a CHIME Room Tablet:
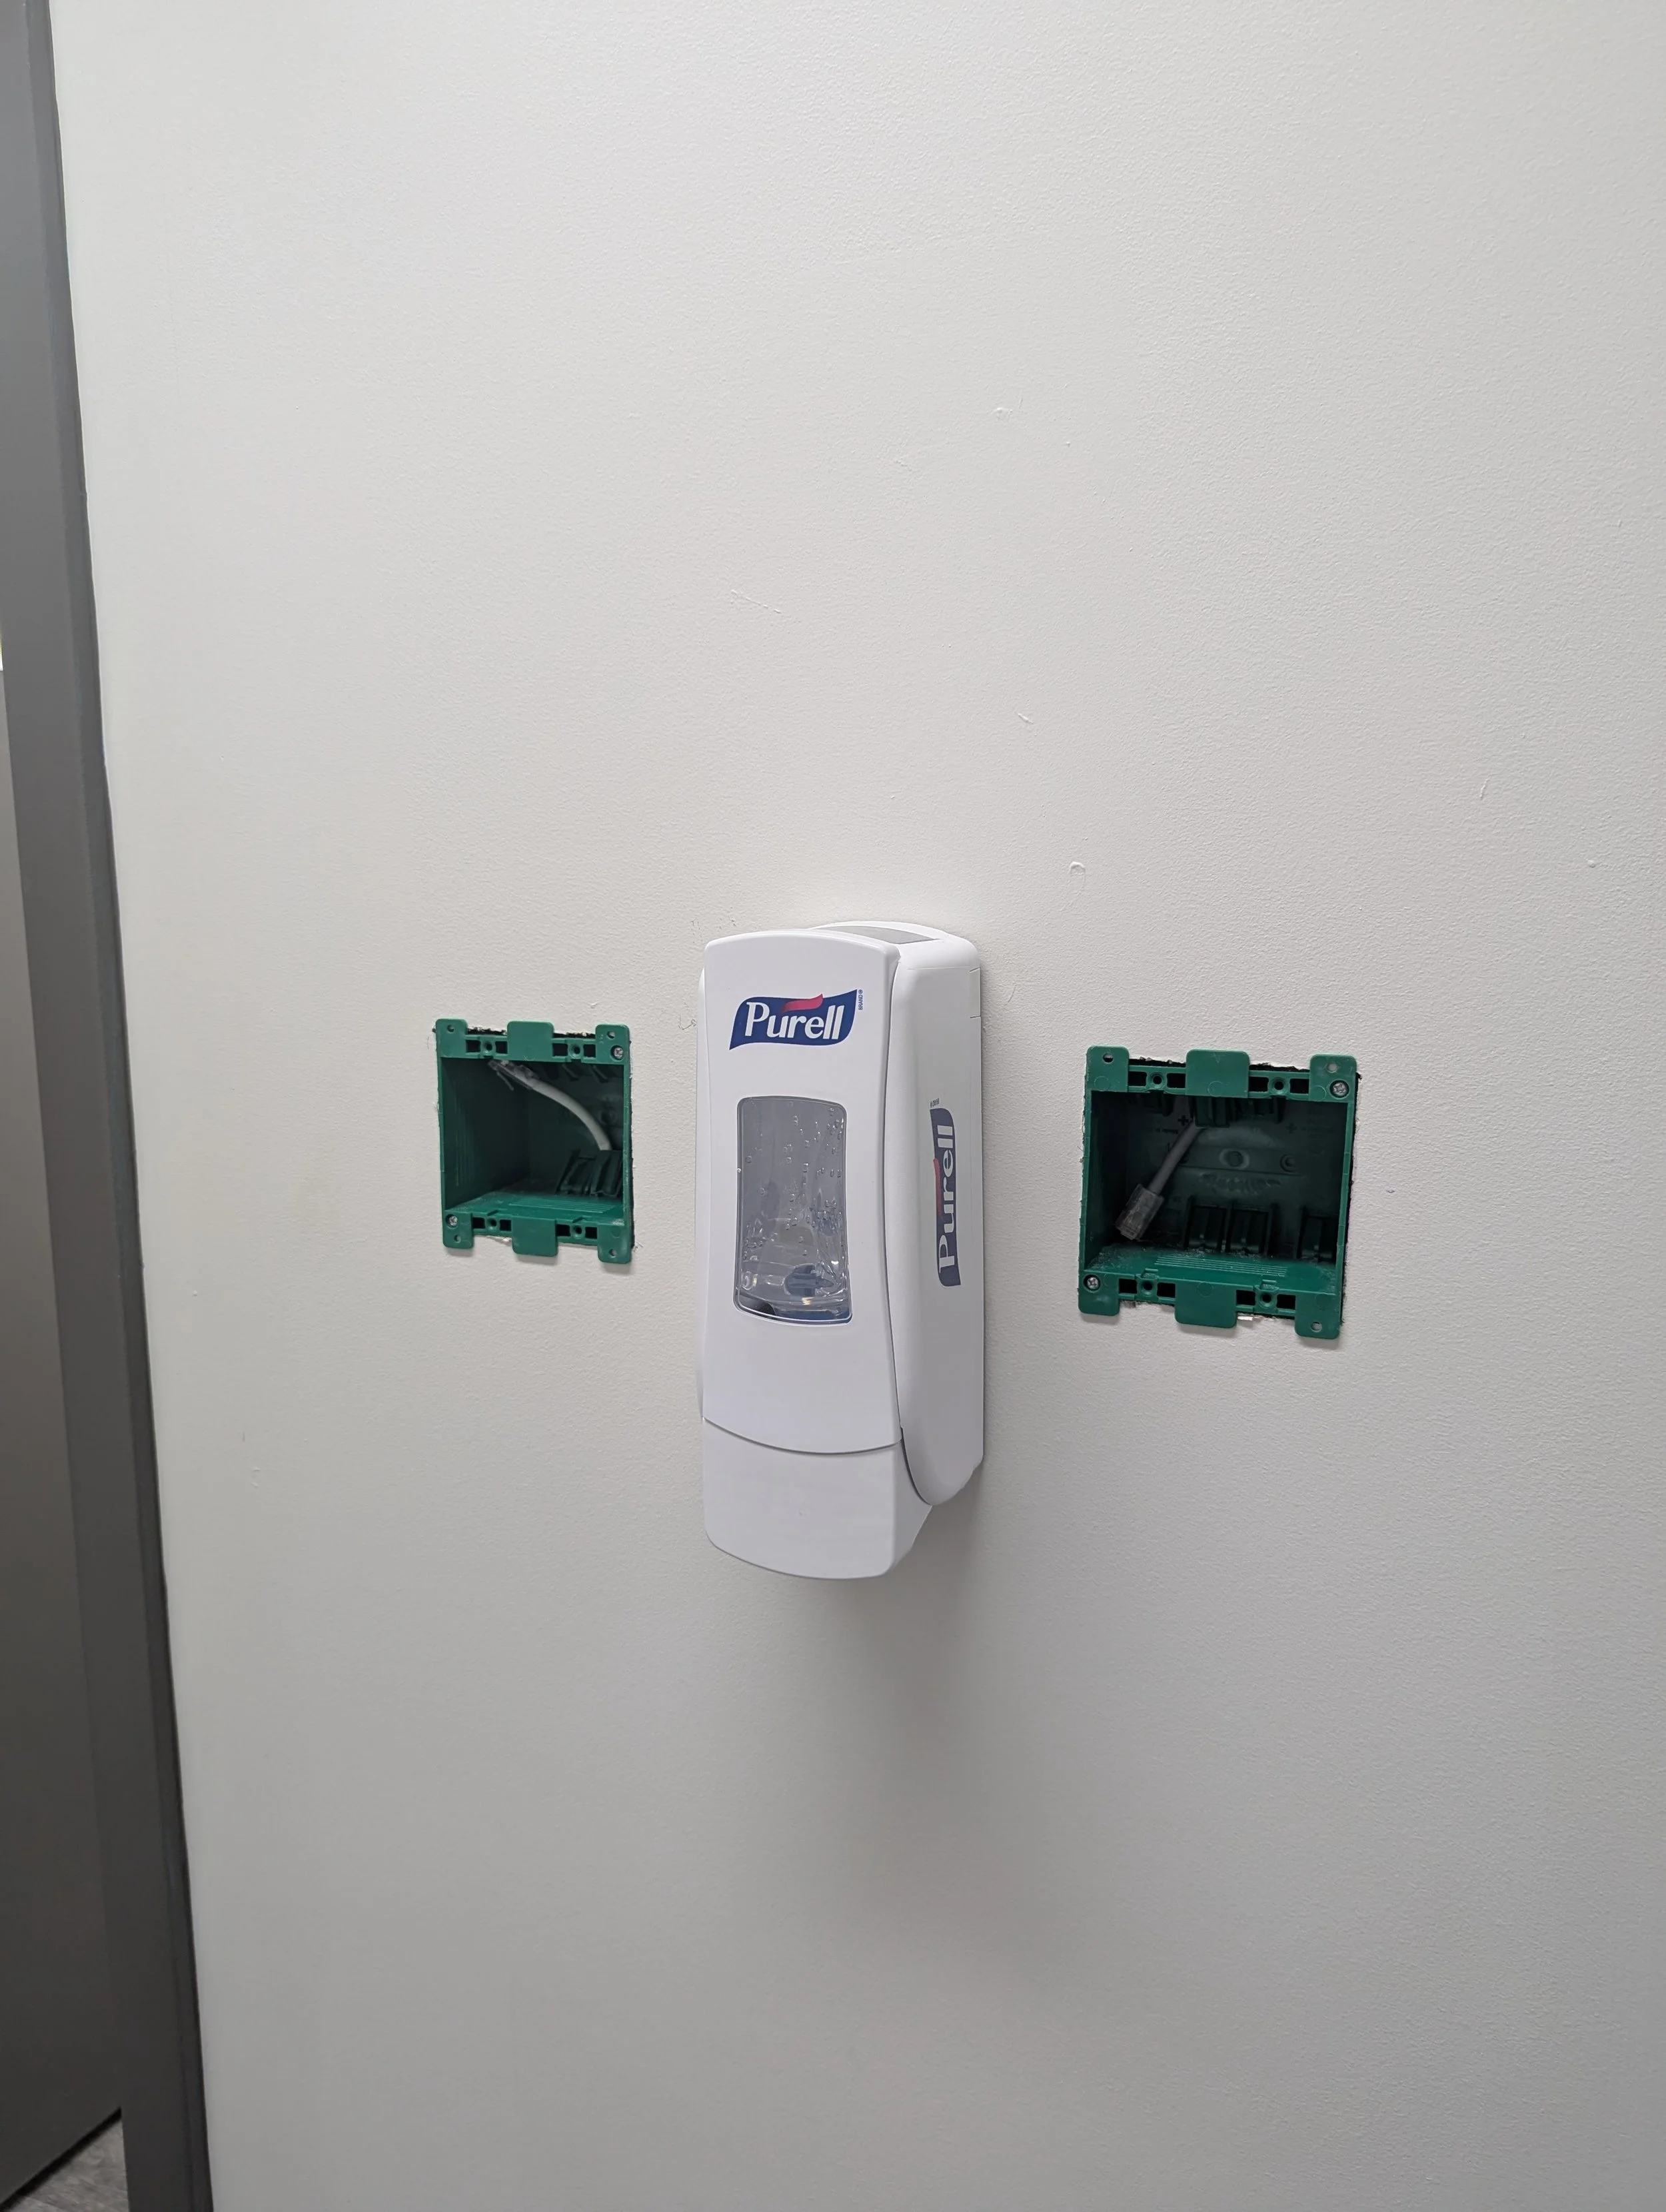
Supply and install a 2-gang outlet box, flush and level with the finished drywall.
Position it 57 inches AFF (above finished floor) to the midpoint of the box.
Position it 12 inches from the side of the doorframe with the door handle to the midpoint of the box.
Avoid trim, baseboards, and corner protrusions that would interfere with a roughly 10" tall × 6" wide enclosure mounted in portrait orientation.
Verify the mounting hole spacing on the box you're using: 1.88" horizontally and 3.225" vertically. Not all 2-gang boxes match this — see the tablets guide for verified sample products.
23AWG solid bare copper, plenum-rated (CMP), UL-listed Cat6 should be pulled into each gang box. It should have a RJ45 termination. It should be tested and labelled. It should be connected to a patch panel in the IT room.
There are alternatives to pulling Cat6 to each gang box. Please discuss with CHIME before proceeding in a different direction though.
A sample of the “expected outcome” is depicted in the image showing two gangboxes, each with a terminated network drop.
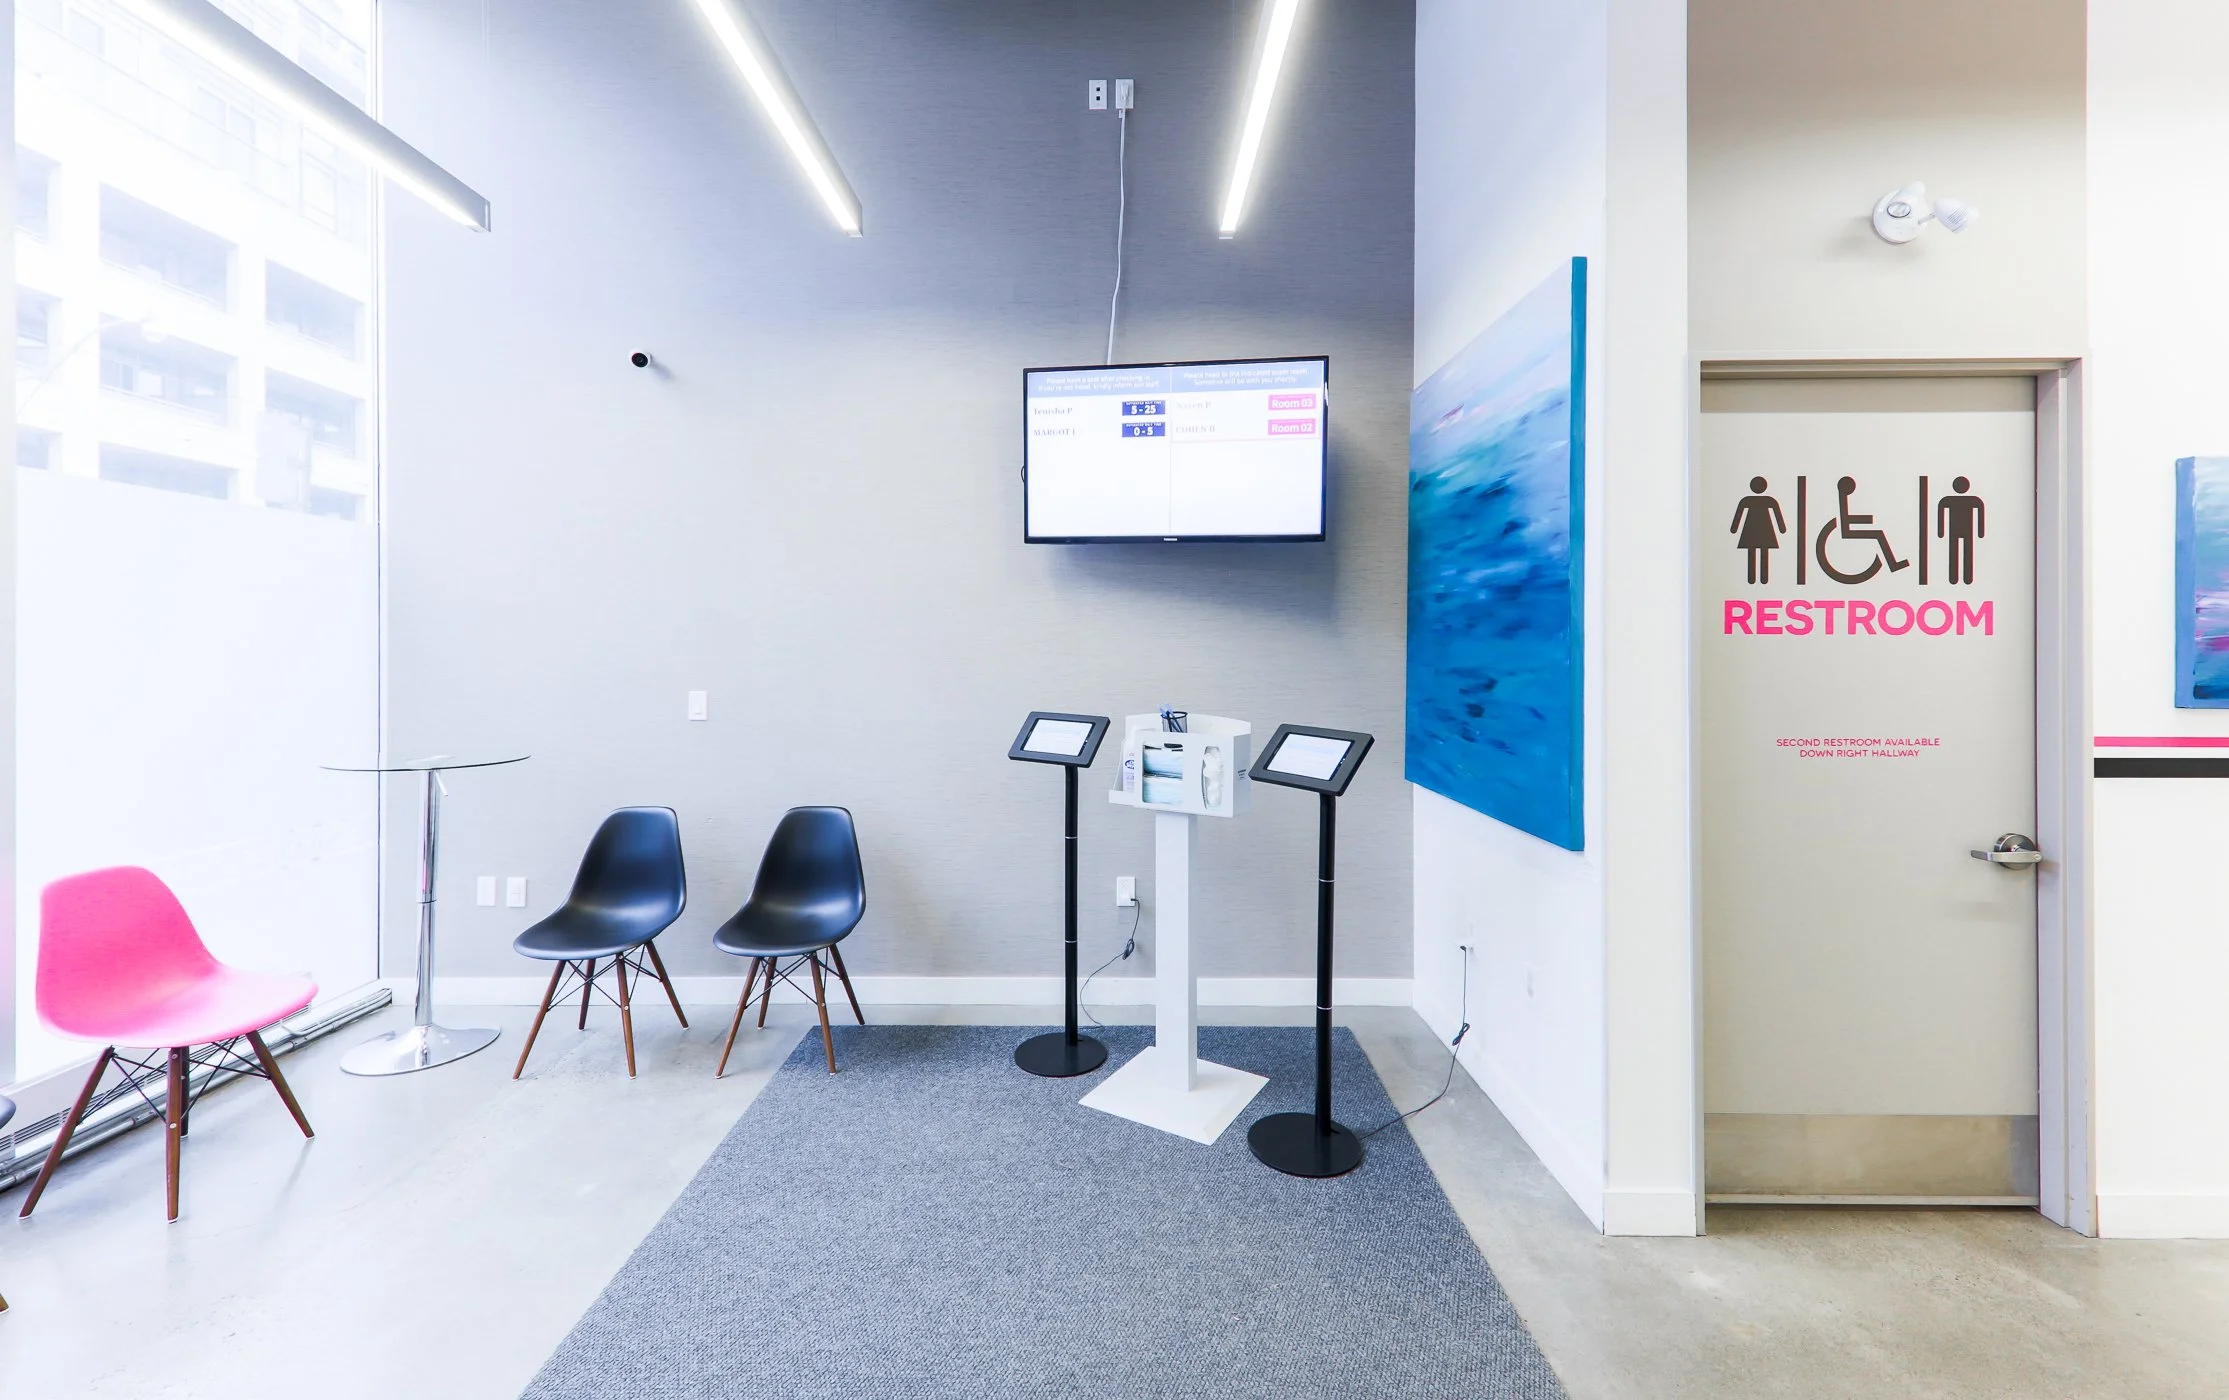
In the Waiting Room(s):
For each TV location:
One 120V power outlet behind the TV mount.
One network drop (Cat6) near the TV, terminated back at the patch panel. This is not strictly mandatory — our content-player device can also work over WiFi — but during a renovation the marginal cost is small and the reliability gain is real, so we strongly recommend it.
Optionally, a second network drop if the TV itself is a smart TV that should be networked independently of CHIME.
CHIME supplies the small content-player device that plugs into the TV via HDMI and mounts to the back of the TV. It needs one power outlet of its own; it cannot be powered off the TV's USB port. TV sizing recommendations (by room seat count) and the rationale for using a content player are covered in the waiting room screens guide.
For each kiosk location please supply and install one 120V power outlet
CHIME usually supplies a power bar with an integrated USB port which the kiosk connects to. Using such a power bar is more reliable because standard wall adapters oftentimes “get loose” over time.
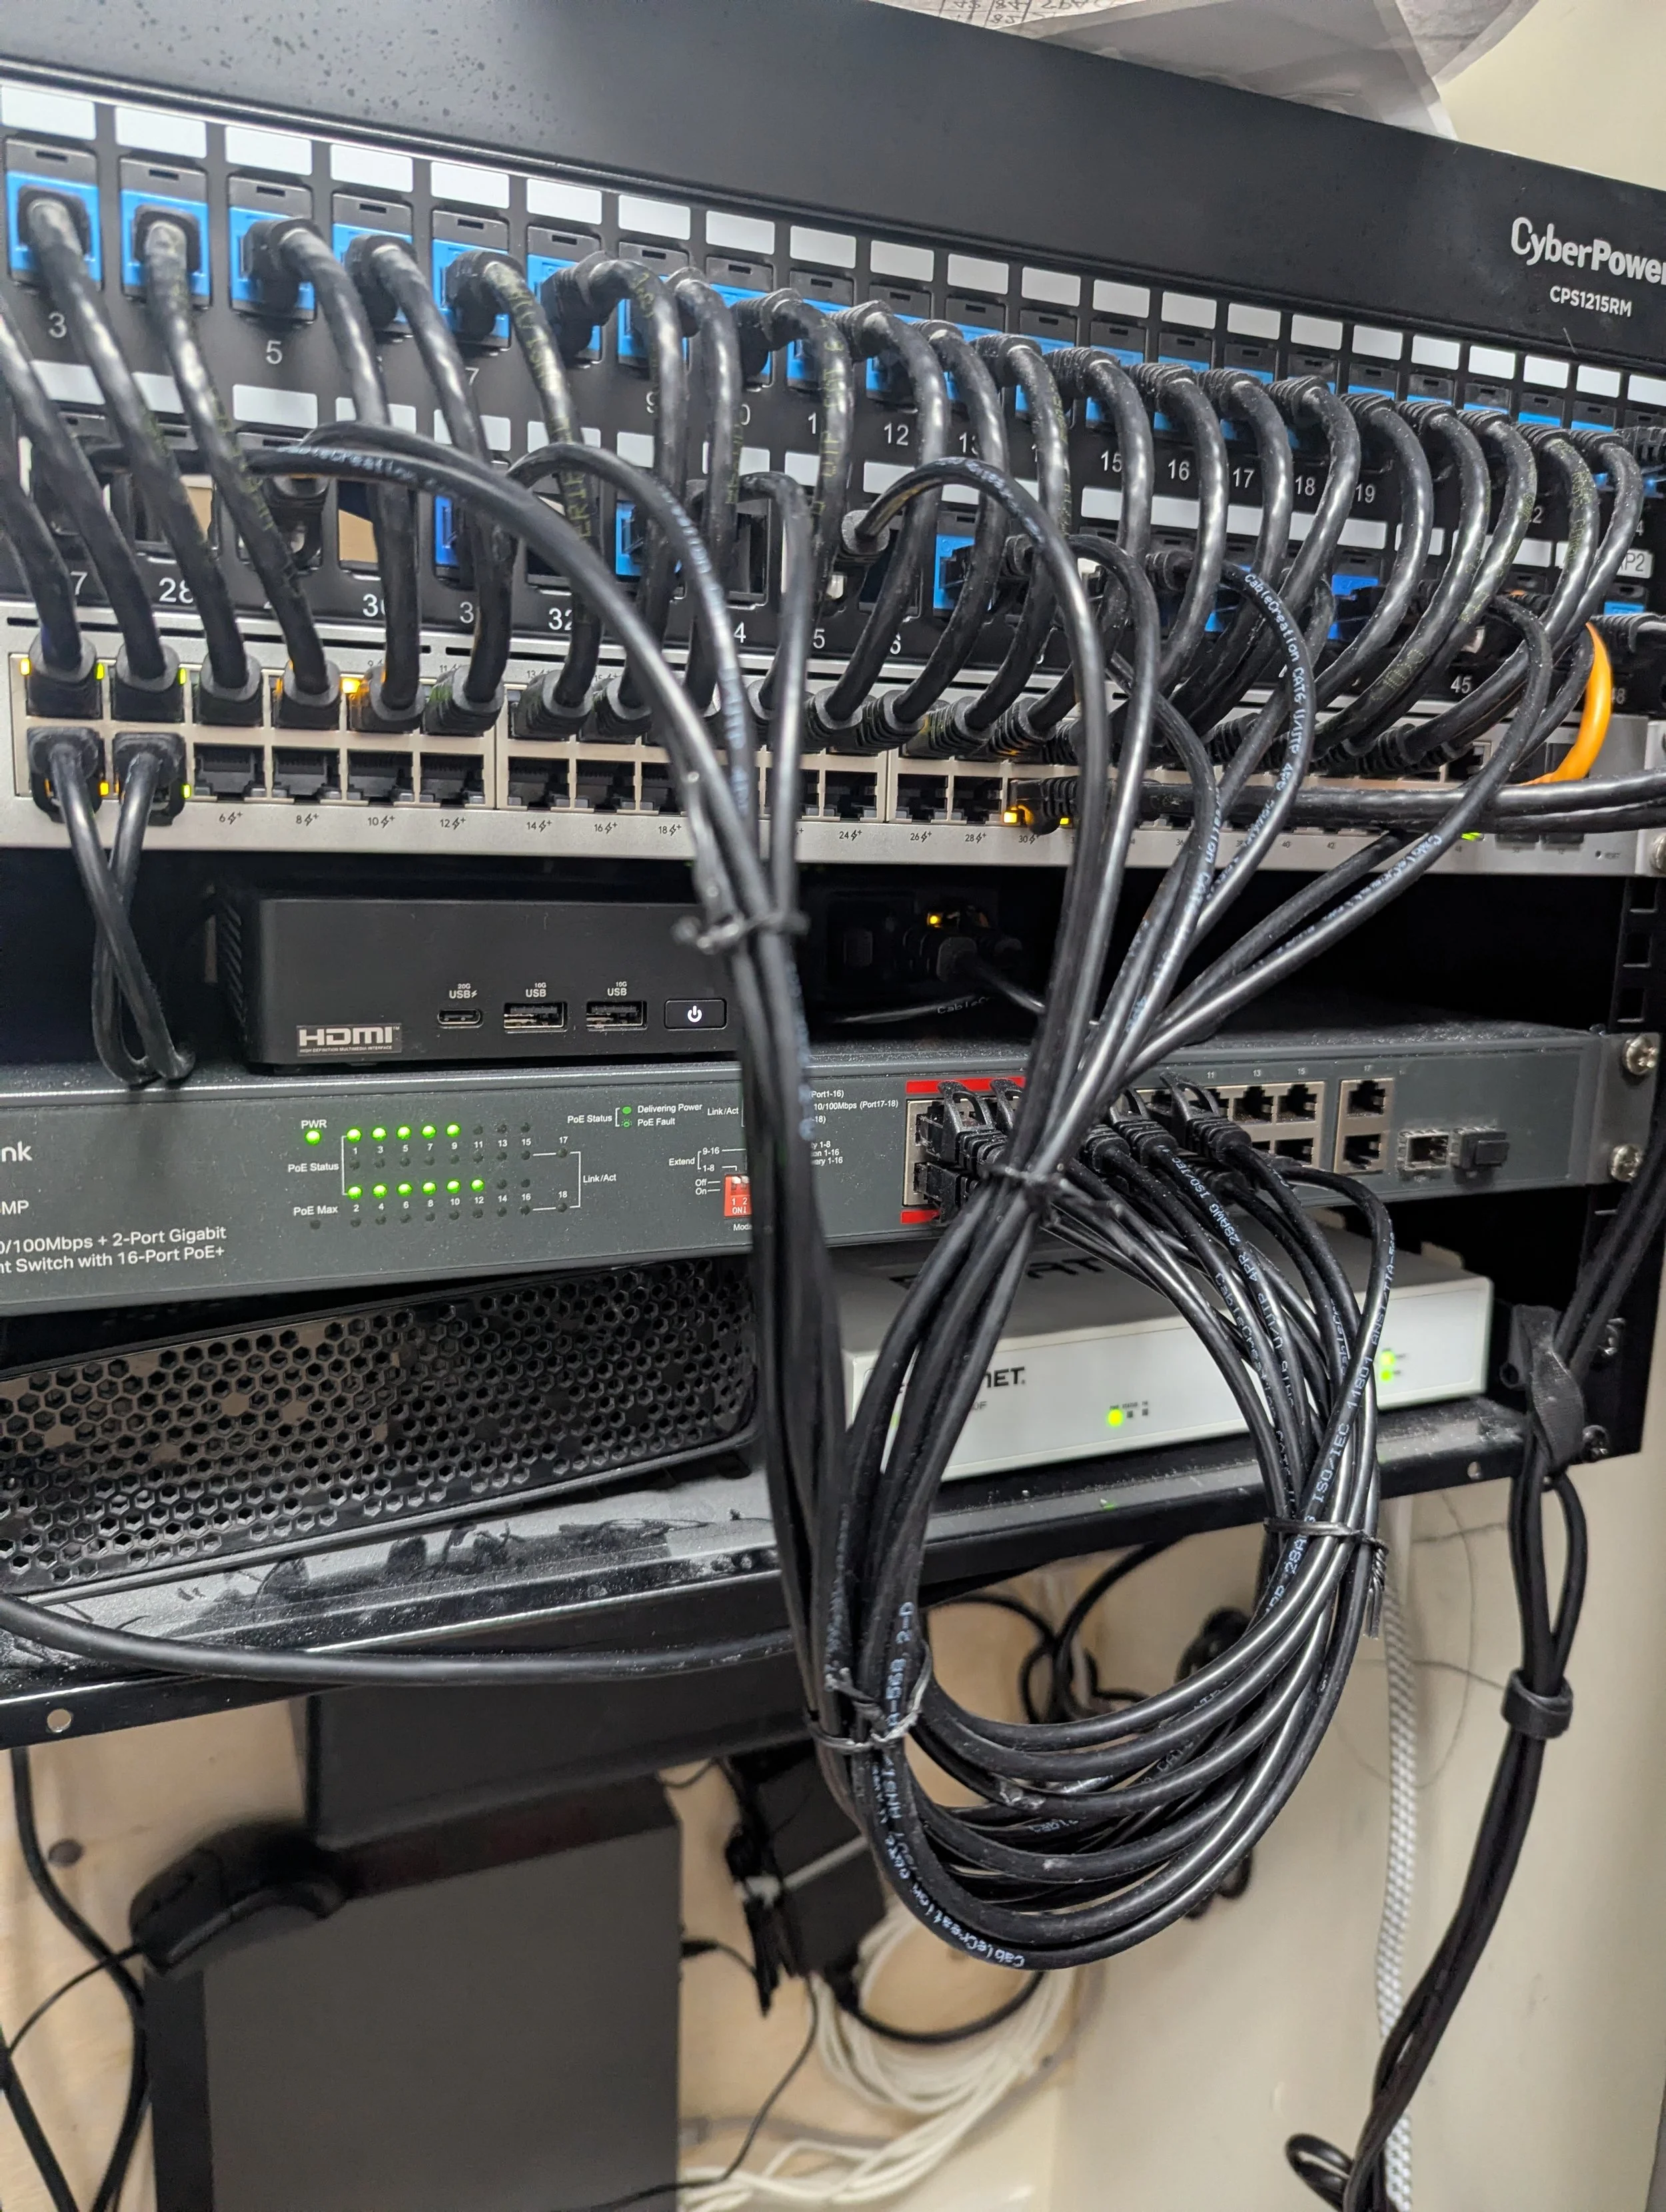
In the IT Room and the Clinic Generally
Just for completeness, this webpage outlines the other IT requirements that are needed such as WiFi, rack space, firewall configuration, etc. These considerations can generally be safely deferred until much closer to actual deployment - these are not considerations that an architect / designer / electrician generally needs to worry about.
Questions?
If your electrician, contractor, or IT person has questions about anything on this page, they can:
Email us at info@chimeclinic.com
Contact your CHIME account manager directly
Ask us to schedule a short call with our deployment team
We’re happy to talk through specifics on a site-by-site basis — it’s almost always faster than guessing.